Serving Static Contents of the Blog with Cloudflare R2
Cloud DNS Architecture
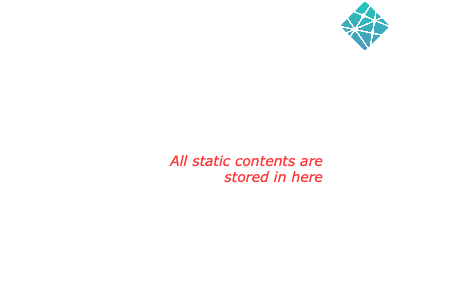
Reviewing Current Architecture
Recently, I purchased a new domain name for my blog - this blog. It was actually part of a
plan to optimize my site’s performance and reduce my costing at the same time. Let me share my journey with you guys.
Initially, I was exploring ways to serve the static content of my site more effectively. Examples of static content in this case are the images, fonts and videos. Since I am uploading my blog in Github, I have a very limited spaces and it would be a waste to use the available storage for storing this static contents. The go-to solution for many developers that I know of is Amazon S3 bucket, a robust cloud storage service. However, during my research, I stumbled upon an another alternative: Cloudflare R2.
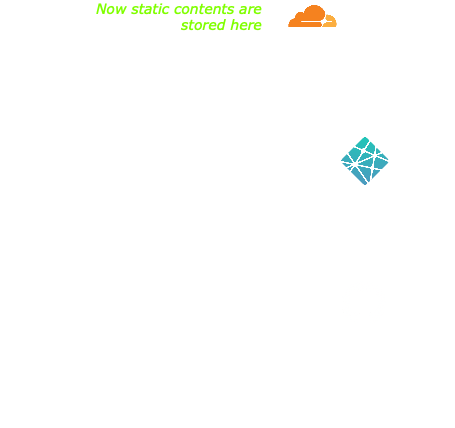
Cloudflare R2 caught my attention for several reasons. Like S3, it provides the capability to store and serve static assets. But what really piqued my interest was its pricing model. R2 offers a free tier that allows you to serve content up to a certain bandwidth threshold before any charges kick in. For a small blog like mine, this could potentially mean significant cost savings on hosting. There are other perks and benefits offered which are pretty interesting to me, I suggest you look it up yourself for more information.
However, there was a catch. To fully utilise Cloudflare R2’s capabilities, I needed to have my own custom domain name. This was the motivation for me to invest in a new custom domain for my blog.
By combining a custom domain with Cloudflare R2, I’m not just optimizing costs. I’m also setting up my blog for improved performance and scalability. The custom domain gives me more control over my blog’s branding and SEO, while R2 ensures fast content delivery with the potential for global distribution.
Serving Images from Cloudflare Bucket to Netlify Site Via a Subdomain
First, I researched the most cost-effective domain name registrar and concluded that Exabytes offered the best deal for my needs. With my domain secured, I moved forward by subscribing to Cloudflare R2’s free tier, where I created a bucket to store my assets.
The next step was crucial: I changed my domain’s nameservers from those provided by my old registrar to Cloudflare’s nameservers. This allowed me to take advantage of Cloudflare’s powerful tools and infrastructure. I then set up a CNAME record for my domain to point to my Netlify app, making my website accessible from the internet. However, uploading all the assets like images and videos into my Github repository seems a bit non practical.
To streamline asset management, I created a subdomain specifically for my assets, aptly named asset.zakizakaria.blog. I uploaded all necessary assets to the R2 bucket under this subdomain. The final step was updating the links in my blog to reference the assets in the Cloudflare R2 bucket.
This approach not only enhances my site’s performance but also ensures efficient asset delivery. Stay tuned as I continue to explore the full potential of my new domain setup!